Learn how to make the foamiest DIY homemade face wash for people with sensitive skin
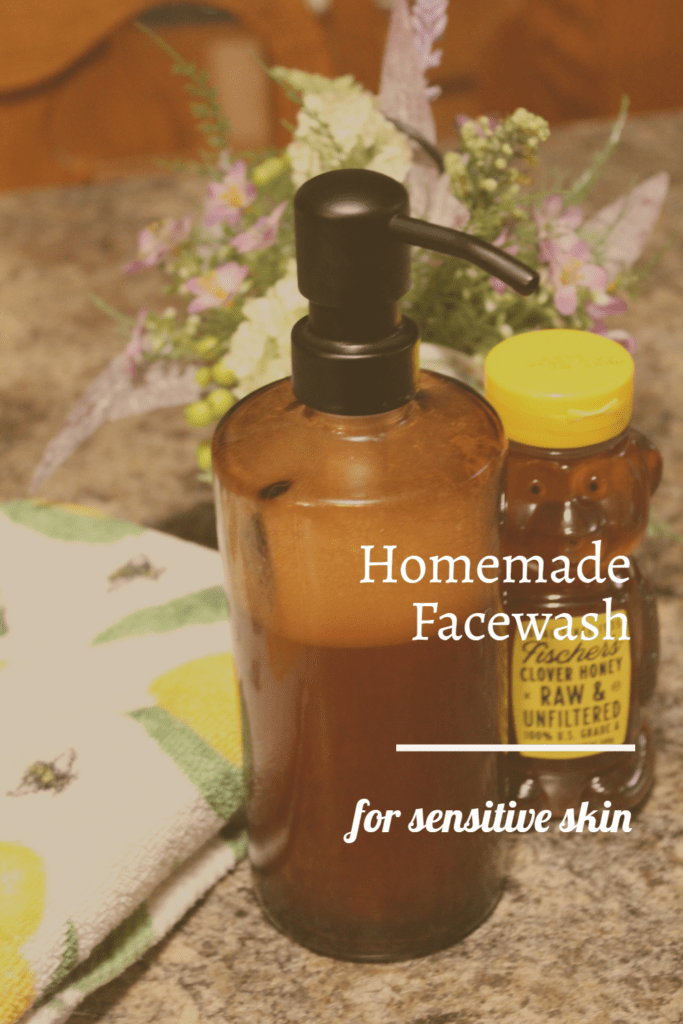
I’ve gone through TONS of commercial face washes, and the story is always the same. It works for a bit and then my skin rejects whatever is in the cleanser. Whether it causes flaky patches, oily patches, acne breakouts, or red patches, nothing ever seems to work consistently for me. After years of being tired of fighting my face washes, I finally decided to take a different approach and learn how to make my very own homemade face wash.
I’ve been using this face wash for over a year now and could not be happier with the results. My face not only feels cleaner and clearer, but I have yet to have any adverse reactions to it.
Ingredients to avoid in your homemade face wash
If you’re like me and look at the ingredients for everything you buy, you’ll know that practically any face wash on the shelf has a long list of ingredients with a whole bunch of words you can’t even pronounce. And generally, I find that if you can’t pronounce it, you probably shouldn’t be putting it anywhere near your body.
The top ingredients I always try to avoid are sodium lauryl sulfate, parabens, formaldehyde, phthalates, fragrances of any kind, and mineral oil. Not only are most of these carcinogenic, but they also are endocrine disrupters. If you’re unsure about an ingredient, you can look it up using the EWG Skin Deep® Cosmetics Database to see how it rates that ingredient based on its most common concerns. A rule of thumb I like to apply is if it is not an item I would regularly keep in my pantry, I probably should steer clear of it.
How to cleanse your face
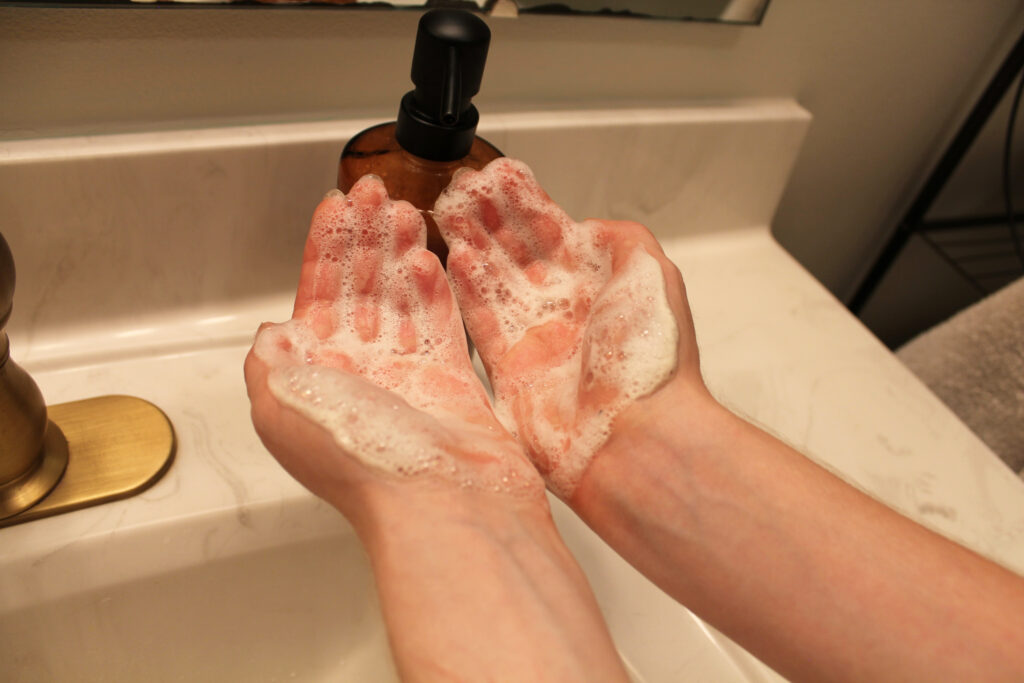
Each face wash has its own tricks for optimal results. With this homemade face wash, I’ve found that wetting my hands with warm water, rubbing my wet hands together for at least 30 seconds with the cleanser and then massaging it into my face and neck for around a minute works best. If you want an even foamier cleanse, I highly recommend putting honey on your face for 5 to 10 minutes before you wash. Pat dry with a towel afterwards and follow your usual skincare routine. I always follow up my face wash with a fermented rice water toner and a lard and tallow moisturizing balm.
How to adjust for various skin types
While this recipe is meant for sensitive skin, it doesn’t mean you can’t use it if your skin isn’t as sensitive. You can adjust the carrier oil if the jojoba oil isn’t working for you. You can even add some essential oils to make it work with oily skin, normal skin, dry skin, combination skin, and acne-prone skin.
- For oily skin, I recommend going for a drier oil. With a drier oil, it shouldn’t feel greasy at all after application. Hemp seed oil is my favorite, but grapeseed oil and apricot kernel oil also work.
- For normal skin, try changing the carrier oil to a sweet almond oil, argan oil, or rosehip seed oil.
- For dry skin, you’ll want to use a heavier oil. These can include avocado oil, olive oil, or castor oil.
- For combination skin you’ll want a balanced oil such as sweet almond oil, apricot kernel oil or rosehip oil.
- For acne prone skin try sunflower oil, rosehip oil, or hemp seed oil. You can also add bergamot and tea tree oil to help combat any current and future acne flare ups.
Ingredients
Tea
While you can just use plain filtered water in this face mask, you can get an extra boost by adding tea to the water you use. Green and chamomile tea are my go-to teas for beauty, so I combined them for this face cleanser. You can use mint, hibiscus, rose, or white tea as well.
Green tea has tons of antioxidants, prevents and treats redness and acne on the skin, slows the aging process and even protects your skin from cancer. Chamomile tea helps to prevent hyperpigmentation, quicken healing, and act as a calming addition to the start or end of your day.
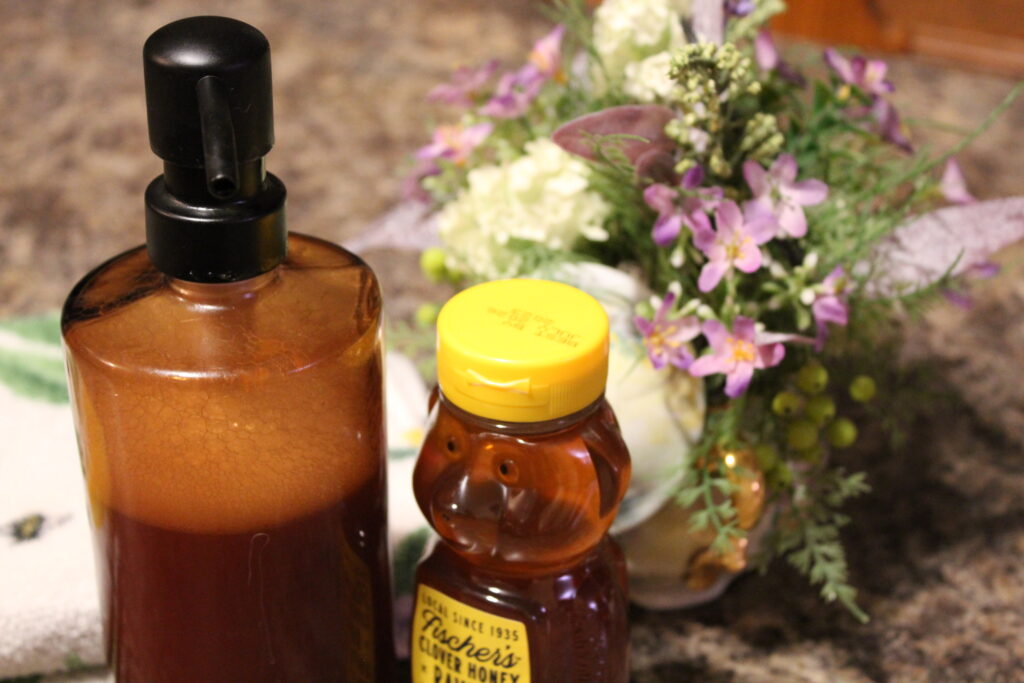
Honey
Honey is a superstar when it comes to skincare. It helps heal wounds faster, reduce inflammation, and decrease the effects of aging on the skin. For the best effects, use manuka, raw, or unfiltered honey.
Aloe Vera Gel
Aloe vera gel helps heal acne, moisturizes the skin, speeds up the healing time, and gives you a supple glow. And I’m not talking about the neon green aloe gel near the sunscreen. I’m talking about the slightly cloudy, clear, or light green aloe either straight from an aloe leaf or a 100% pure, organic aloe vera gel. If you use this kind, you’ll get the maximum benefits.
Carrier oil
Oils have had a bad rap in skin care, and most people still try to avoid putting oil on their face because they think it would just make their face oily and gross. However, oil actually does a lot more good than harm for your face. It can actually bring debris up and out of the skin (think oil cleansing) for a deeper clean. It also locks moisture into your skin, providing a beneficial barrier that gives you a wonderful glow.
The carrier oil is really up to you and your skin type. My personal favorite is jojoba oil, but you can use anything from sweet almond oil to olive oil to rosehip oil or more. All that matters is that the oil is liquid at room temp.
Vitamin E oil
Vitamin E oil excels at repairing and preventing skin damage. One of my favorite aspects of the vitamin E oil is its ability to diminish the appearance of scars. Not only that, but it also provides moisture to the skin, prevents skin cancer, and speeds up the healing process.
Castile Soap (Liquid)
Castile soap is what makes this face wash foamy like your standard commercial cleanser. It’s made from olive oil, which—if you’ve read our other posts—you know I love. I chose castile soap because it is a very mild soap. It will protect your skin against acne and unwanted bacteria without stripping it of its natural oils.
What are the risks of homemade face wash?
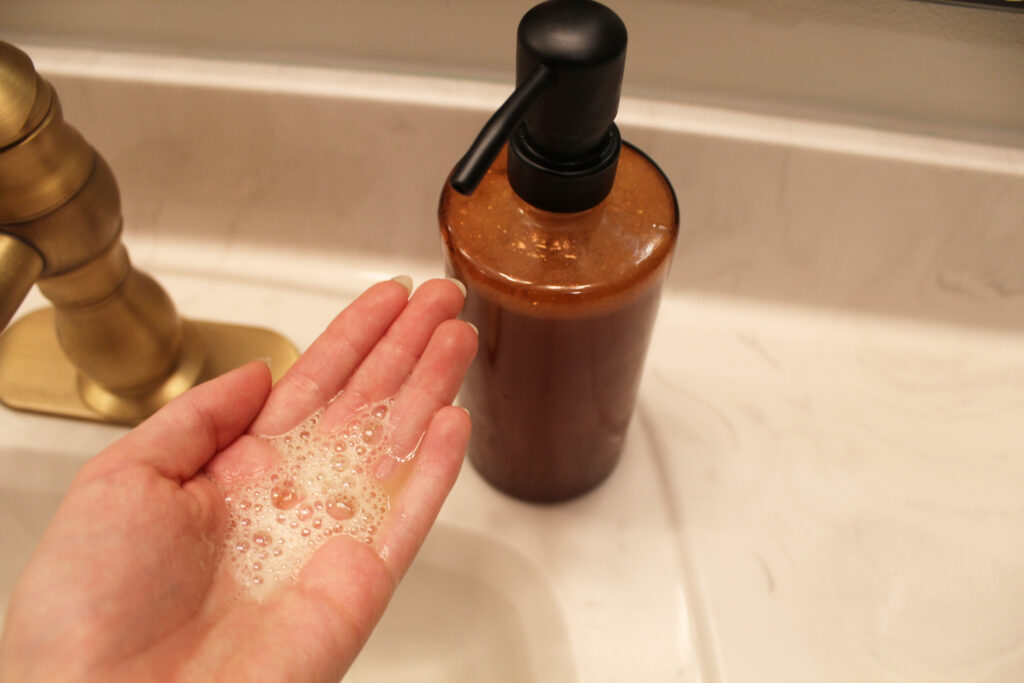
Like anything you put onto your skin, spot test it on an inconspicuous place like the back of your neck or your chest. If you experience any irritation, itchiness, or redness after using this, please discontinue its use immediately. If you have any cause for concern, talk to your dermatologist first before using this recipe.
This face wash will take at least three months for the effects to start showing. It may cause your skin to undergo a short purging session after a week or two depending on your skin type. But be patient! If after three months you aren’t seeing the results you would like, adjust the recipe to your needs and liking.
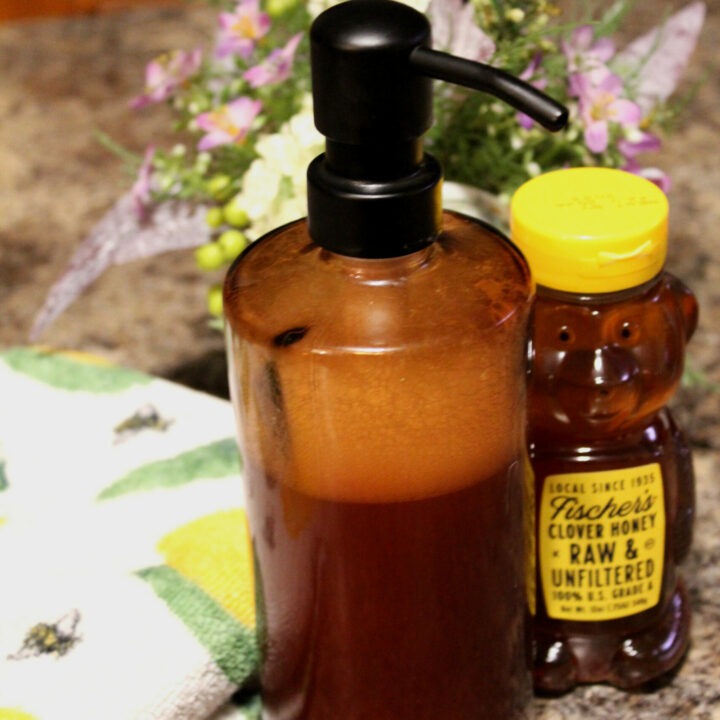
Homemade Face Wash for Sensitive Skin
Learn how to make the best foamy, homemade face wash for sensitive skin with only six ingredients.
Ingredients
- 1 Tbsp honey
- 1 Tbsp aloe vera gel
- 1 Tbsp carrier oil (jojoba is my favorite)
- 20 drops vitamin E oil
- Unscented liquid Castile soap
- Over-steeped tea
Instructions
- Steep the green and chamomile tea in the boiled water for about 10 minutes.
- Stir in the honey after steeping the teas.
- Pour this honey tea mixture into a soap bottle until it is halfway full.
- Add the aloe vera gel, carrier oil, and vitamin E oils.
- Top off the rest of the soap bottle with the unscented castile soap.
- Allow the solution to cool completely
- Shake the bottle, and wet your hands before use.
Notes
Remove any makeup before using this facewash.
I highly recommend using glass or ceramic soap containers since plastic can leach into your facewash.

Leave a Reply
You must be logged in to post a comment.