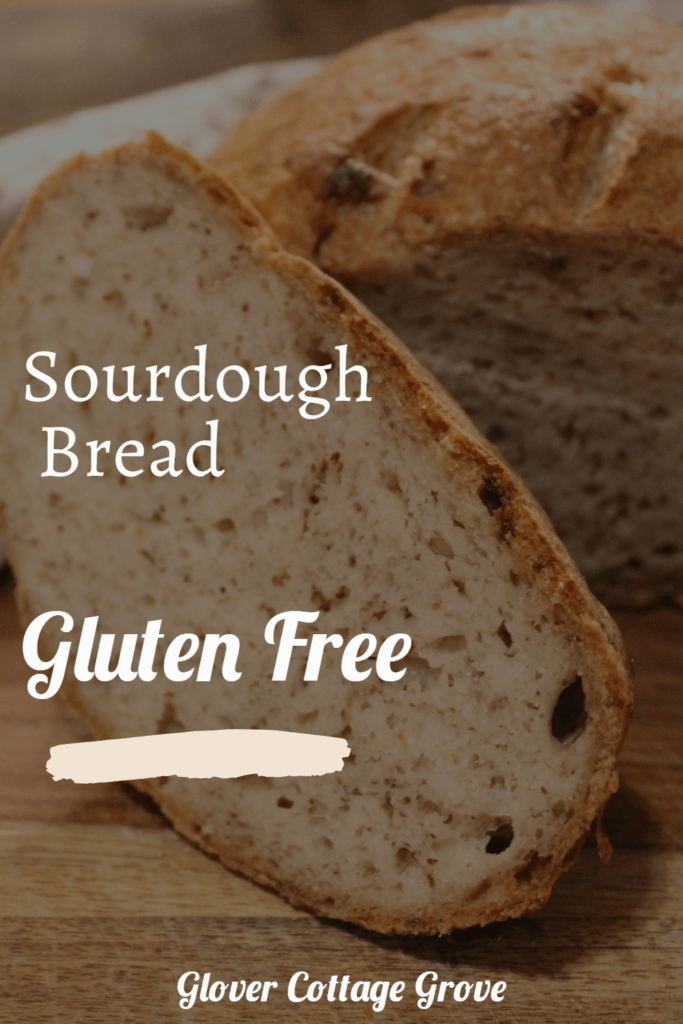
Enhance your personal bakery by adding this golden gluten-free sourdough bread to your lineup.
I only recommend products I would use myself. All opinions expressed here are my own. This post may contain Amazon affiliate links and I may earn a small commission, at no extra cost to you. Read my full privacy policy here.
Sandwiches, soups, breakfast spreads, etc. Is there anything that can’t be made a little better by adding some fresh sourdough bread on the side? At Glover Cottage Grove, we don’t think there is. That’s why one of my life’s greatest woes was discovering my wheat allergy. My new goal in life was to relieve that feeling of biting into fresh sourdough with a gluten-free sourdough bread to call my own.
When I first discovered my allergy, gluten-free alternatives were essentially code for “cardboard, with a dash of flour.” The gluten-free market has become significantly much more diverse since I discovered my allergy, with everything from crackers to cookies to fried breadings now being given a gluten-free alternative. Well, almost everything. Despite our best efforts, we have yet to find a company that makes my favorite kind of bread; sourdough. Instead of giving up on ever having sourdough bread again, we decided to take matters into our own hands.
We searched high and low for a recipe on how to make gluten-free sourdough bread from scratch. After all the hours spent doing mad science in our laboratory (the kitchen), we discovered that recipe. And today we want to share with you our recipe and why sourdough is such an important type of bread for you to have in your diet.
Sourdough is our go-to bread. The taste, the consistency, it’s all good. What some people might not realize, however, it is our go-to for more than just the taste. It’s not easier to make than other breads. In fact, other kinds of sandwich bread don’t have starters, making it so that you can make them at any time, any day. But the fermented starter is actually part of what makes sourdough so good for you.
The history of sourdough bread
Sourdough dates back thousands of years and is one of the earliest forms of bread. In fact, the oldest recorded use of sourdough was in 3500 BC in Switzerland. Though, some historians believe that the ancient Egyptians also created sourdough bread.
Interestingly enough, sourdough starters can last forever if you take care of them correctly. The Egyptian yeast starter strain was recently revived and is said to be 4,600 years old! You can purchase sourdough starters of various ages, some being a couple of decades old to some being centuries old. Though, you should be careful if you’re on a gluten-free diet since most of these starters are made from wheat flour.
What is sourdough bread?
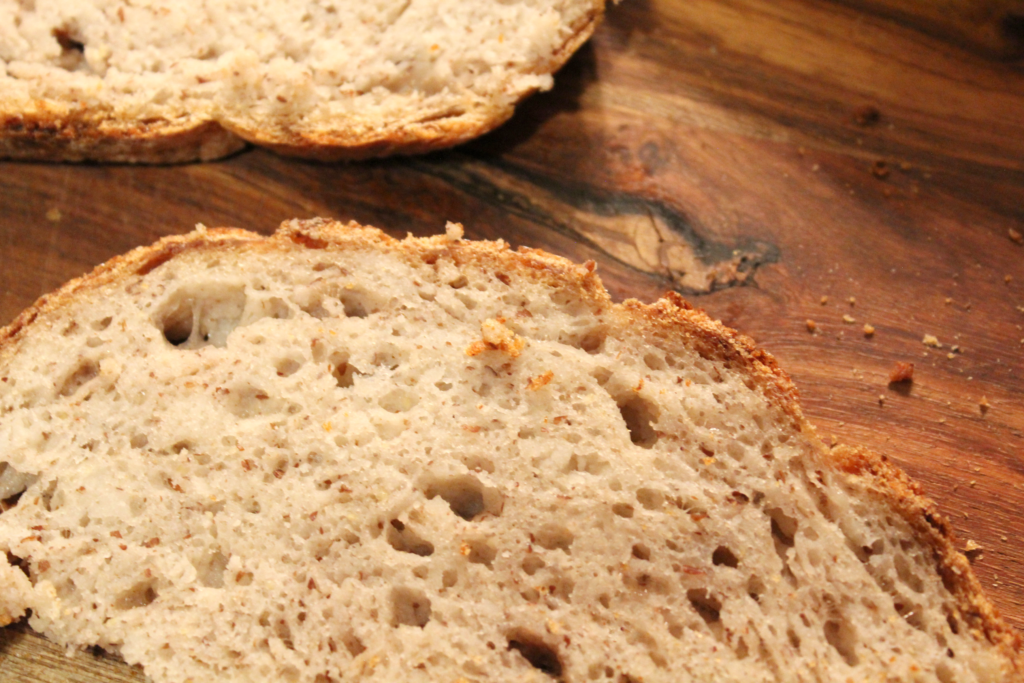
What gives sourdough that crackly crust and mouthwatering tang everyone knows and loves? We call it the starter. It’s a slurry of water and flour fermented to create a microbiome for wild yeasts to live. This mixture is used as a leavening agent compared to bread made from baker’s yeast. These wonderful wild yeasts are what give sourdough its traditional tang.
The Benefits of Sourdough Bread
Sourdough bread is packed with properties that benefit the body. On Healthline’s list, What is the Healthiest Bread: 7 Scrumptious Options, sourdough ranks as the second healthiest bread. According to multiple sources, the fermentation process that sourdough undergoes helps it break down phytic acid, an acid that binds certain minerals and restricts your body from absorbing them properly. Along with sourdough bread breaking down phytic acids, the bread’s fermentation process acts similarly to other fermented foods by creating probiotics that help your gut health.
Sourdough bread is also easier to digest because it loses some of the inflammatory properties that standard bread has. And because the starter eats much of the natural sugar in the bread, multiple sources have claimed that sourdough bread has a much lower glycemic index. This makes it less likely to spike blood sugar levels, which can be critical for people with diabetes.
How to make gluten-free sourdough bread
The very first thing you will need is a well-established sourdough starter that is at its peak. Check out our article, How to Make Gluten-Free Sourdough Starter From Scratch, if you don’t have a starter yet or want to try a new one! Once you have enough starter fermented, you’re ready to make your very own gluten-free sourdough bread.
You will also need a digital kitchen scale for this recipe. This is the digital scale I use!
Making the dough
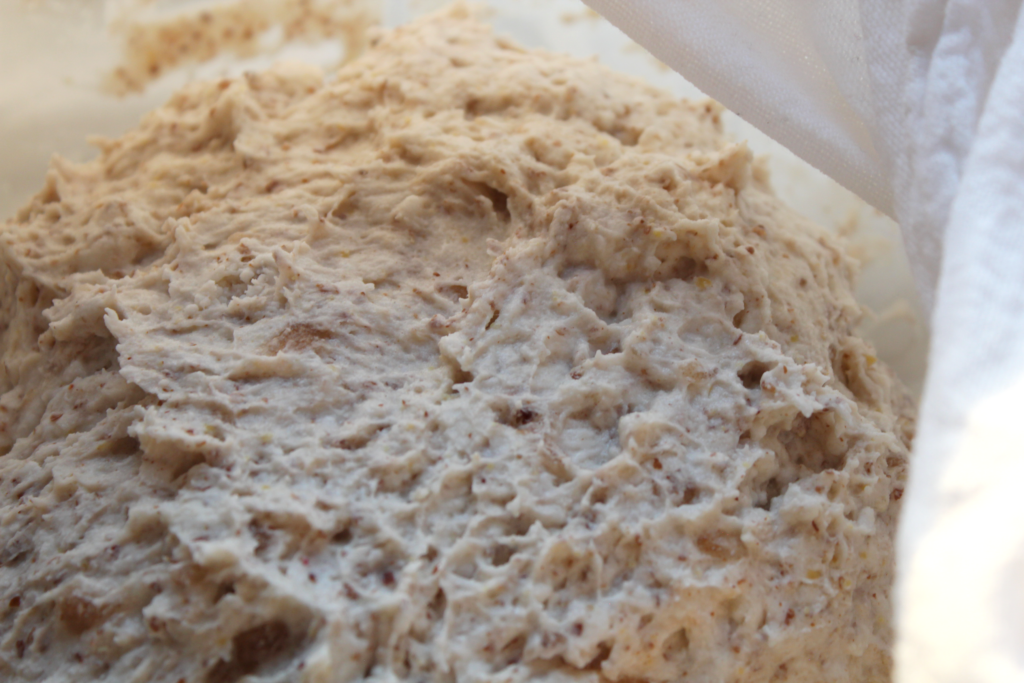
You’ll want to put 500 grams of room temperature filtered water with a tablespoon of apple cider vinegar into your glass mixing jar. The apple cider vinegar will help the psylium husk dissolve and and provides the yeasts some natural sugars to help with the fermentation process. Add psylium husk powder to the water mixture and stir until there are no more clumps left. Let this mixture sit for about 5 minutes. It should form into a sort of gel, which will work as our gluten structure substitute.
Once you have your gel mixture, add your sourdough starter. Add the rest of your flours and flaxseed, and mix in. You can use either a hand mixer or a danish dough whisk (my preferred method!) You’ll want your dough to reach a consistency that is sticky yet manageable. It shouldn’t be wet and slick or clumpy and dry. Add more water or flour depending on how dry or wet your dough is.
Once the dough has been mixed, remove it from the bowl and gently work it with your hands. Gluten-free dough won’t stretch as well as wheat dough does, but I still like to get it to a point where the dough no longer breaks the second I try to stretch it. Once satisfied with its stretchiness, I put the dough back in its glass mixing bowl and cover it with a damp flour sack towel. I like to put it in a warmer section of my house, either on my oven or by a sunny window to help with the proofing.
Proofing

After around one hour, take the dough out and add in the salt. Knead the salt in and reshape the dough. Put the dough into a banneton and re-cover with the damp towel. Leave in a warm spot for four hours.
Once the final proofing is almost done, place your dutch oven with its lid on into your baking oven, then preheat the oven to 500 degrees Fahrenheit.
Cooking

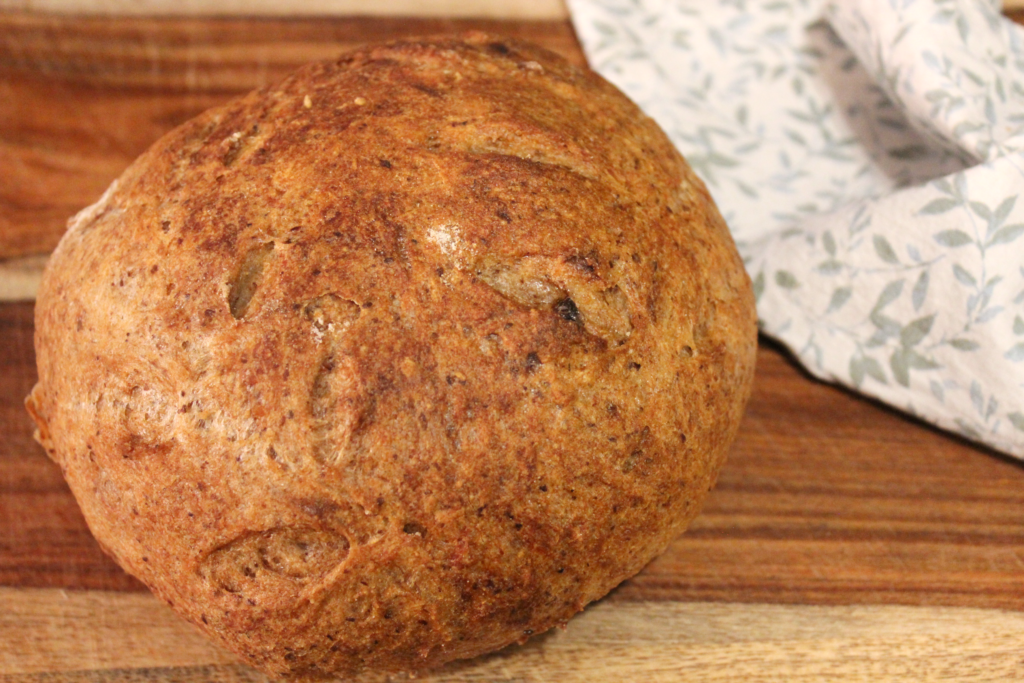
Once the oven has reached 500°, transfer your sourdough onto a piece of parchment paper and score your bread. You can sift some flour over top if you desire. I try to score my dough in a way that creates a fun design. This is where you get to be artsy! Make sure to have fun creating whatever design you want. And don’t worry about making it perfect. Take it from me; sometimes, the designs just come out funky after baking.
Place your parchment paper with your sourdough ointo your dutch oven. Place two ice cubes between the parchment paper and the bottom of the dutch oven. Cover the bread as quickly as possible to help trap in the steam. This creates a little steam room for your bread to rise happily in. Lower your oven to 475℉ and cook for 45 minutes.
After 45 minutes, remove the Dutch oven lid, reduce the temperature to 425℉ and cook for an additional 40 minutes. Then remove and let your sourdough cool.
Note: As tempting as it may be to dive right into your freshly baked bread, you will need to let the dough cool completely before breaking into that delectable crust. This allows the bread to finish cooking and helps prevent the bread from collapsing.
Storing
Once the bread has cooled completely, cut it and store your pieces into a bag. Unlike wheat breads, gluten-free sourdough bread will go bad if left out on the counter for too long. I recommend storing your bread in the freezer. However, if you know you’ll finish it within a couple days, the fridge or a bread box should work fine.
How to adjust the tang of your sourdough
Sometimes, you may find that your loaf is way too sour. Other times, it might not taste sour at all. This is easily adjusted! One of the best adjustments is in your starter. If you find that your sourdough isn’t as tangy as you want it to be, deed your starter less and mix in your hooch. If your dough is too sour, feed your starter more throughout the day. This reduces acid buildup, leading to a softer tang.
If you’re happy with your starter but still want to adjust the tang, you can adjust the proofing time. Increase the proofing time if your want your sourdough to be more tangy, and decrease your proofing time to to make it less tangy.
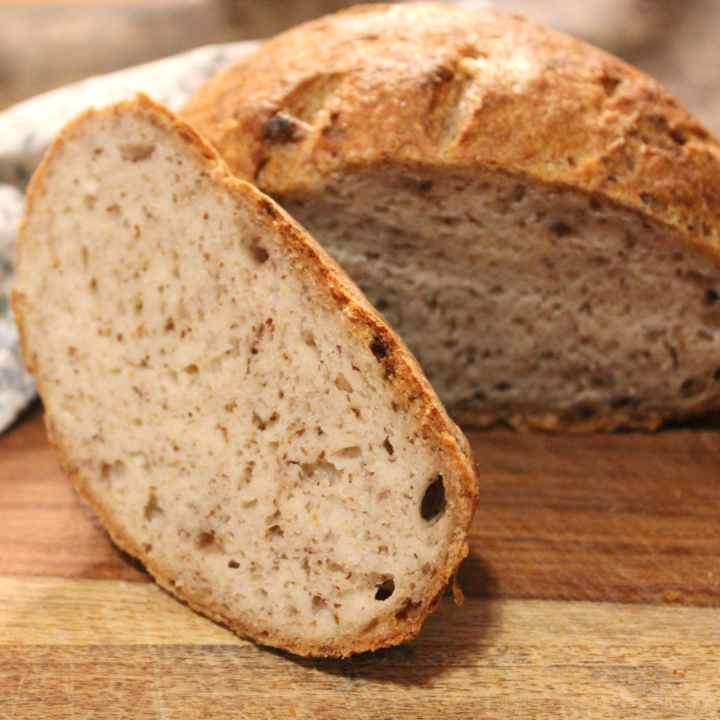
Homemade Gluten-Free Sourdough Bread for Beginners
This gluten-free sourdough is the perfect bread for your morning toast, afternoon snack, or as a dipping bread in practically any soup you can think of.
Ingredients
- 200 grams unfed sourdough starter
- 25 grams ground flaxseed
- 150 grams almond flour
- 225 grams gluten-free flour
- 500 grams water (filtered water is preferred)
- 1 Tbsp psyllium husk powder
- 1 Tbsp apple cider vinegar
- 10 grams salt
- Large glass mixing bowl
- Kitchen scale
- Dough whisk
- Damp cloth
- Dough Scraper (optional)
- Banneton (bread-proofing basket)
- Dutch oven
- Parchment paper
Instructions
- Put 500 grams of water and 1 tablespoon of apple cider vinegar in a large mixing bowl. Mix 1 tablespoon of psyllium husk powder in until disolved and the mixture has a slightly gooey texture. Let sit for five minutes.
- After letting the psyllium husk/water mixture sit for five minutes, add your unfed sourdough starter and mix in.
- Add the flaxseed, almond flour, and gluten-free flour and stir. Your dough should have a sticky consistency without being wet. Add all other ingredients to the bowl and mix until your dough has a sticky consistency. Add water as necessary.
- Once dough has reached the right consistency, cover the mixing bowl with a damp cloth and let sit for one hour in a warmer part of your home.
- After an hour, remove dough from the mixing bowl, add the salt, and knead into loaf shape.
- Place the dough back into a banneton and cover again with your damp cloth.
- Let the dough sit for 4 hours undisturbed. It should rise slightly but won't double in size like a wheat-based sourdough.
- Put your dutch oven into your oven and preheat to 500 degrees Fahrenheit.
- Once your oven is preheated, move your sourdough the banneton onto a piece of parchment paper.
- Score the sourdough with your desired pattern
- Place the parchment paper with sourdough into your dutch oven.
- Add two icecubes between the parchment paper and inner dutch oven wall before putting the lid back on.
- Bring the temperature down to 475 and cook for 40 minutes.
- After 40 minutes, take the lid off the dutch oven, bring the temperature down to 425 and cook for an additional 40 minutes.
- Take the sourdough out of the oven and let cool completely before cutting.
Notes
I find that gluten-free sourdough does much better toasted before consumption, but it's up to you!
Sourdough troubleshooting
Sourdough is as much of a science as it is an art, and if something goes wrong with your dough, it’s generally because of a ratio imbalance. Your ratio will depend on what flour mixes you use, your starter, the humidity, and the temperature.
Why did my gluten-free sourdough collapse?
Similar to your sourdough starter, your sourdough will have a perfect peak time right before it collapses on itself. Consider decreasing your proofing time and checking on it every couple of hours to make sure it’s still rising rather than deflating. Also, make sure you’re not overworking and overhandling the dough. Gluten-free sourdough isn’t stretchable like wheat sourdough, so you really only need to knead it into the shape your want for it to be good to go.
Another consideration is the hydration levels. If it’s consistently collapsing despite your proofing time adjustments, the hydration might be off. Add more water to help the sourdough’s natural yeast to work its magic.
Why is my gluten-free sourdough so dense?
Similar to why it collapses, Too little water tends to make the sourdough too dense. Increase your hydration levels to prevent this. Your starter may also not be at it’s peak or is underdeveloped and can’t create those airy bubbles sourdough is so well known for.
For the most part, the instructions for how to make the gluten-free sourdough bread in this recipe are mix, cover, wait, repeat, bake. In theory, it’s simple. In practice, it is actually simple, but the steps are more nuanced, so it might take a few rounds of practice to fully grasp the consistency needed to make that perfect loaf. For example, we list most of the ingredients in this recipe by grams instead of cup or spoon measurements. We’ve done this because we have found that adding the exact amount listed for each ingredient gives us our best loaves. Feel free to change the amounts if your dough isn’t turning out quite like you want it to.

What a great and thorough recipe! Thanks for all the tips and tricks and ways to troubleshoot to get it the way you want it! I love sourdough and have a hard time finding good options in the stores. So, I can’t wait to try this out!