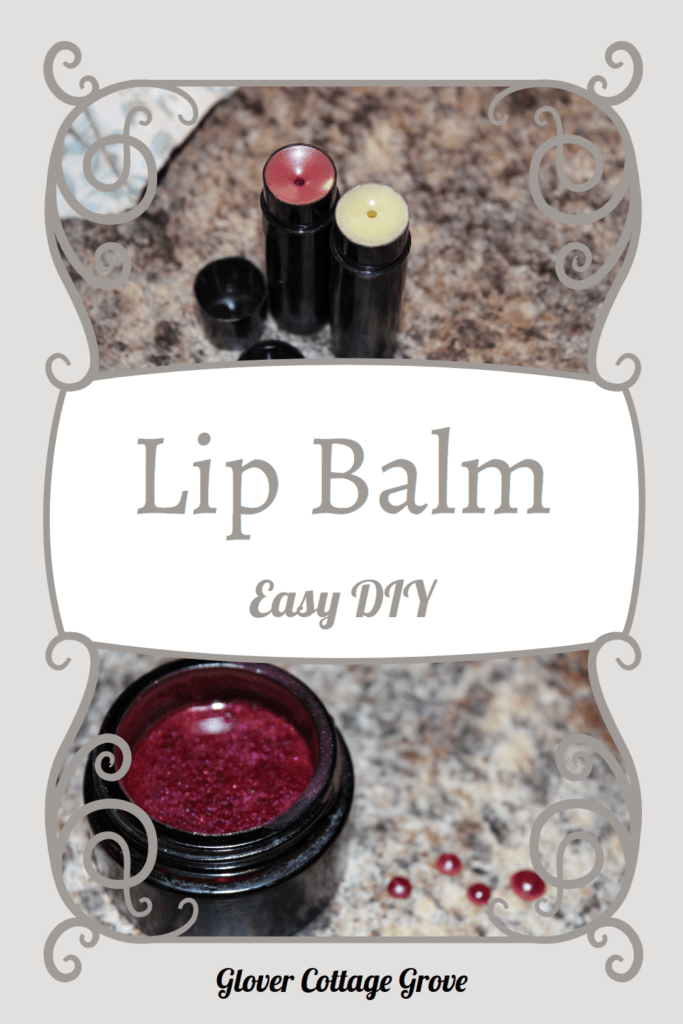
Learn how to make the best homemade lip balm! The process is super simple, and you’ll never have to suffer from chapped lips again.

The struggle with dry and chapped lips during the cold winter months is real. And store-bought lip balm seems to just make the peeling worse. Or, even if it does help with dryness, the lip balm has a horrible scent or leaves a gross, slimy feeling on your lips. But what are the alternatives? It was a question we struggled with for years until we asked ourselves, “Why not try making our very own?” By making your own homemade lip balm, you can customize it to get the perfect texture, the perfect scent, and even the perfect color. The process is surprisingly simple. And as a bonus, homemade lip balm makes for a wonderful last-minute stocking stuffer for friends and family!
Why your store-bought lip balm isn’t working
Did you know that store-bought lip balms contain ingredients that actually make your lips worse? Fragrances are the main culprit of this as many fragrances irritate your skin barrier rather than hydrating it. Camphor, phenol, and menthol are chemicals often found in store-bought lip balms that also cause dryness, peeling, and cracking. So next time you reach to buy a lip balm at your grocery store, check the ingredients to see if it’s truly helping or just making it worse.
The Benefits of Homemade Lip Balm

Carrier Oils
Some essential oils are quite potent and can cause irritation if applied to the skin directly. Carrier oils are primarily used in conjunction with essential oils. The carrier oil dilutes the essential oils, making the essential oils safer to apply to the skin. There are plenty of different carrier options to choose from, but my personal favorites for lip balm are jojoba oil, sweet almond oil, and olive oil. These are all lighter carrier oils that make the lip balm glide flawlessly.
Honey
We love honey in our household. Not only is it one of the few sweets we can eat (in moderation) without getting sick, but honey is also so good for you in multiple different categories. We’ve discussed some of the benefits of eating honey in our other posts. Those include that honey has antioxidants, helps reduce inflammation, has antibacterial properties, helps with sore throats and coughs, etc. We could dedicate our entire blog to the benefits of honey, especially if we became beekeepers (and believe us, beekeeping is on our to-do list). But for this recipe, we’re using honey as a dermatological, something applied to your skin. According to studies by the National Library of Medicine, honey does wonders for the skin, such as helping to regulate pH levels, acting as an antibacterial agent and mitigating infections, soothing dry skin, and reducing wrinkling.
Beeswax
Like honey, beeswax is made by—well you guessed it—honey bees! Beeswax is a naturally secreted wax that the bees use as a structural material. It both supports the hive itself and stores the honey. Despite primarily being a building block, beeswax also has plenty of benefits for the human body. In skincare, beeswax creates a barrier on the skin that helps keep harmful particles out. It also helps hydrate the skin by binding water molecules, keeping them from running off. Historically, beeswax has been used in various skincare products, such as lotions, lip balm, sunscreen, makeup, and more!
Coconut oil
Coconut oil is one of the major oils we use in almost all of our recipes. Like with most of our other ingredients here, coconut oil has benefits both when you ingest it and when you use it on your skin. According to MedicalNewsToday, coconut oil has antibacterial properties that help prevent infections. Coconut oil also helps moisturize the skin, can reduce inflammation and acne, and can even help with the healing of wounds.
Vitamin E oil
Vitamin E is an antioxidant that helps prevent issues like cancer and heart disease. Studies in the National Library of Medicine explain how vitamin E’s ability to act as a free radical helps it to protect the skin from various skin conditions, such as damage from UV rays. According to the Cleveland Clinic, vitamin E can help soften the skin and prevent it from losing moisture.

Easy, Homemade Lip Balm
Learn how to make the most hydrating, all-natural lip balm that glides on easy.
Ingredients
- 3 tablespoons carrier oil (jojoba or sweet almond oil are my personal favorites)
- 2 tablespoons honey
- 2 tablespoons beeswax pellets
- 2 teaspoons coconut oil
- 1 teaspoon lard (optional. If you want to keep it vegetarian, add an extra teaspoon of coconut oil)
- 1/4 teaspoon vitamin E oil
- 15–20 drops of essential oils (whatever scent you desire; completely optional)
- 1–2 teaspoons Mica powder (optional for a tinted balm)
Instructions
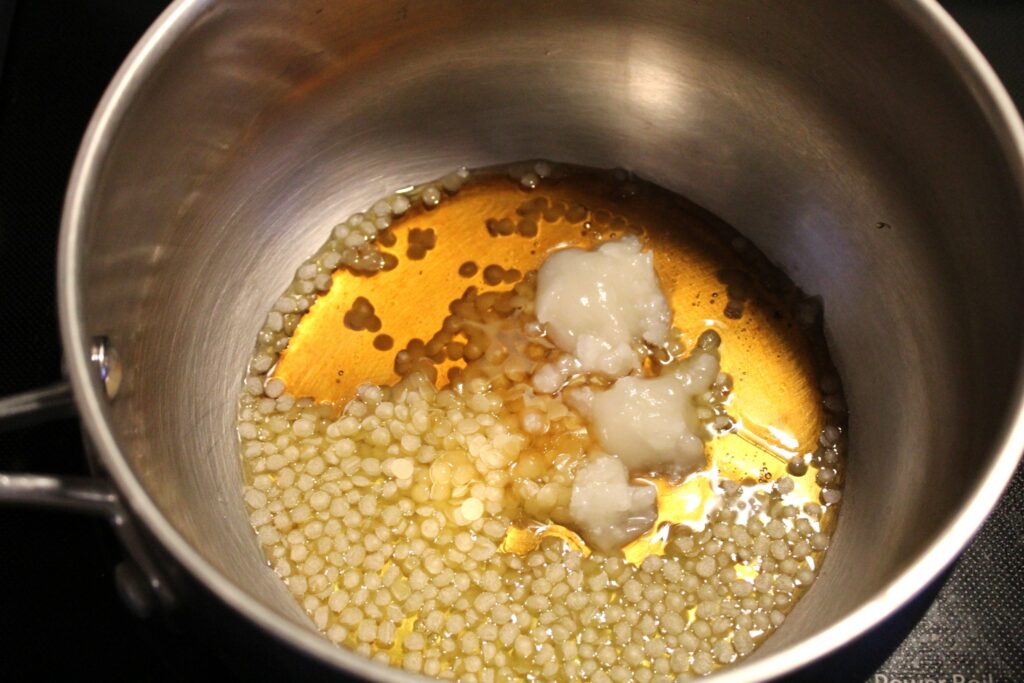
- Melt the beeswax pellets, coconut oil, and lard on medium-low heat, stirring constantly until they are completely melted.
- Remove from heat and mix in the honey and carrier oil until they're fully incorporated.
- Then, add the vitamin E and essential oils and mix. If you want a tinted lip balm, add in the mica powder now.
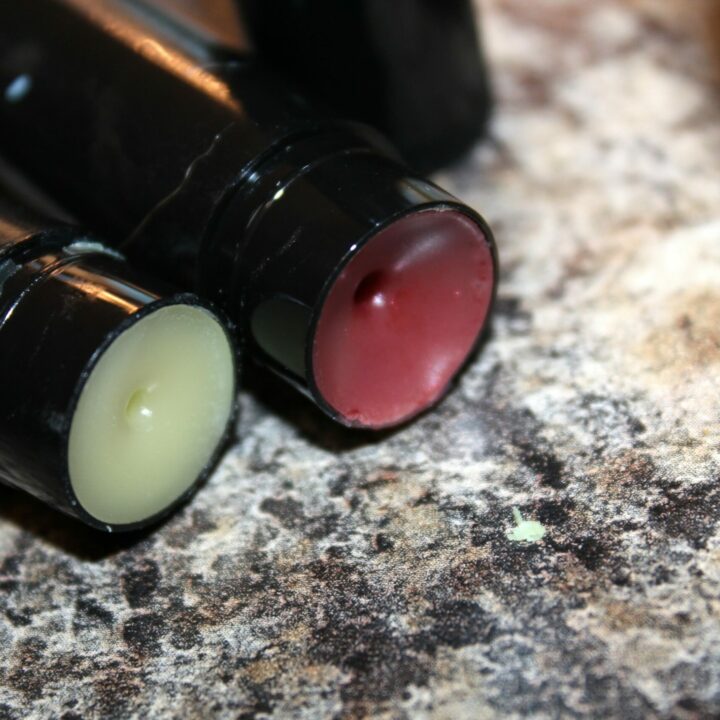
- Pour the mixture into lip balm tubes or a glass jar. Let it solidify completely before use. You can freeze any extra tubes that you aren't currently using!
Notes
This homemade lip balm is good for anywhere from a couple of months to a year depending on the humidity and temperature of your area. As a rule of thumb, if the lip balm looks, smells, and feels normal, it is likely safe to use.

Leave a Reply
You must be logged in to post a comment.