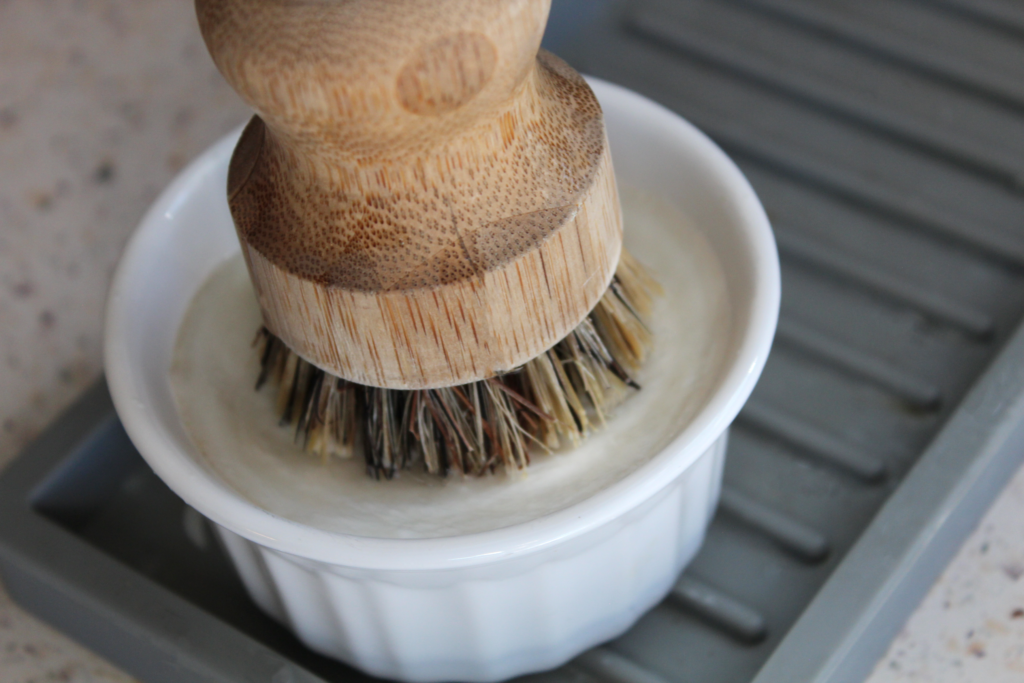
Learn how to make a long-lasting and extra sudsy solid dish soap using only four ingredients. You’ll never go back to liquid dish soap again!
Why should you make your own solid dish soap?
Solid dish soap is not only incredibly easy to make, but it is also inexpensive, lasts for months, and reduces your plastic consumption. What could be better than that? And excluding the lye, you probably have all the ingredients already in your pantry.
Lye vs. Melt-and-Pour Solid Dish Soap
I have tried both lye and a melt-and-pour solid dish soaps. By and far I prefer the lye base over the melt-and-pour. In my experience, the lye base makes the soap come out a lot harder, helping the soap last twice as long. One thing to note about making solid dish soap with lye is that it has a month long curing phase. So be sure you have enough dish soap to last until the next batch is ready!
If you’re in a rush and absolutely need solid dish soap or just prefer not to work with lye, you can use a melt-and-pour soap base. Personally, I love coconut or goat milk bases. Keep in mind, however, that the soap from a melt-and-pour soap base will be softer than the lye base, so might find yourself going through it a lot faster.
Solid dish soap recipe
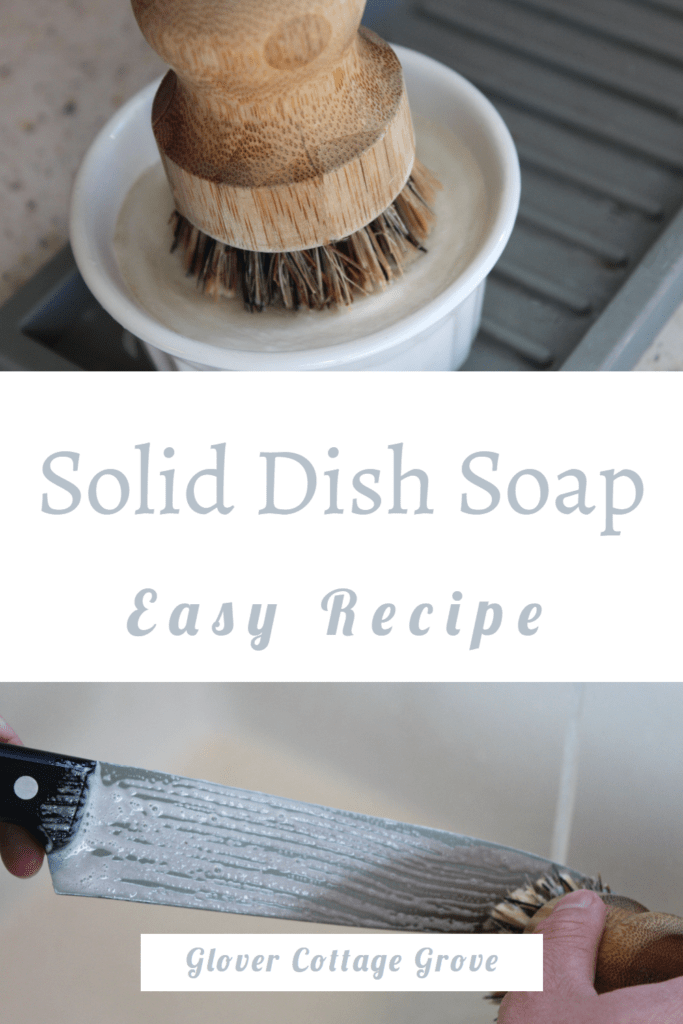
Finding a good combination and ratio of oils that creates a perfectly sudsy and effective solid dish soap was definitely an experiment for this recipe. This recipe took a lot of experimentation. We created multiple batches before landing on the perfect ratios of different oils to give us the sudsy and effective solid dish soap that we use every day. Coconut oil, castor oil, and tallow have shown themselves as the winning combo, creating the sudsiest, longest-lasting soap we’ve made. With this combination, we have been able to squeeze out up to 3 months per ramekin of soap.
Ingredients
- 5.41 oz lye
- 14.5 oz coconut oil (refined)
- 1 oz castor oil
- 14.5 oz tallow
- 8 oz distilled water
- 30 drops of essential oils (optional; I like lemon and lavender, but feel free to try out your own mix)
- Small ceramic ramekins (2 to 4 depending on their size) or a soap mold
Directions
- Ensure that the area you’re making your soap in has proper ventilation to help mitigate any toxic fumes that will be in the air during your soap-making process.
- Add your measured lye into your water in a heat-safe container. Lye and water create an exothermic reaction when mixed, meaning the rection generates heat. It is critical that your container be heat safe to temperatures over 200℉ because the mixture will reach near boiling temperatures within seconds. Always add the water to the container first. Never add water after lye. The water could splash into your face before mixing entirely, possibly exposing you to both boiling droplets and toxic fumes. After mixing, wait for the mixture to cool to around 100℉. This will generally take around 30–45 minutes.
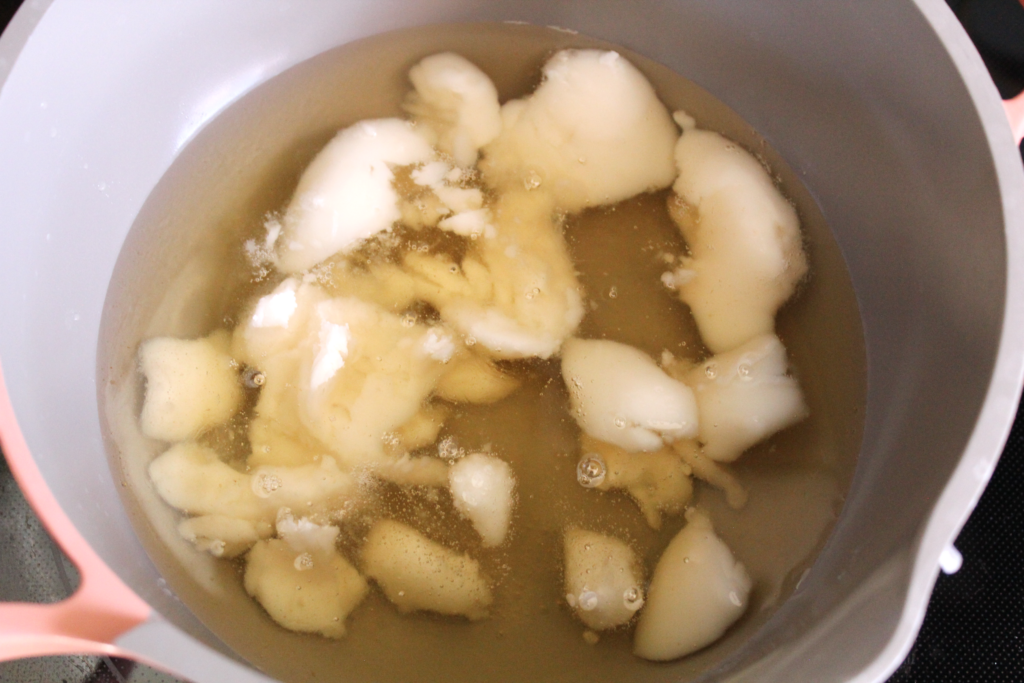
- As your mixture nears 100℉, you’ll want to melt your oils on the stove over low heat. Once they’re fully melted, take them off the heat and let cool to 100℉ as well. It will help to try timing this to have the lye mixture and the oil mixture hit 100℉ around the same time.
- Once both mixtures have reached around 100℉, slowly add the lye mixture into the oils.
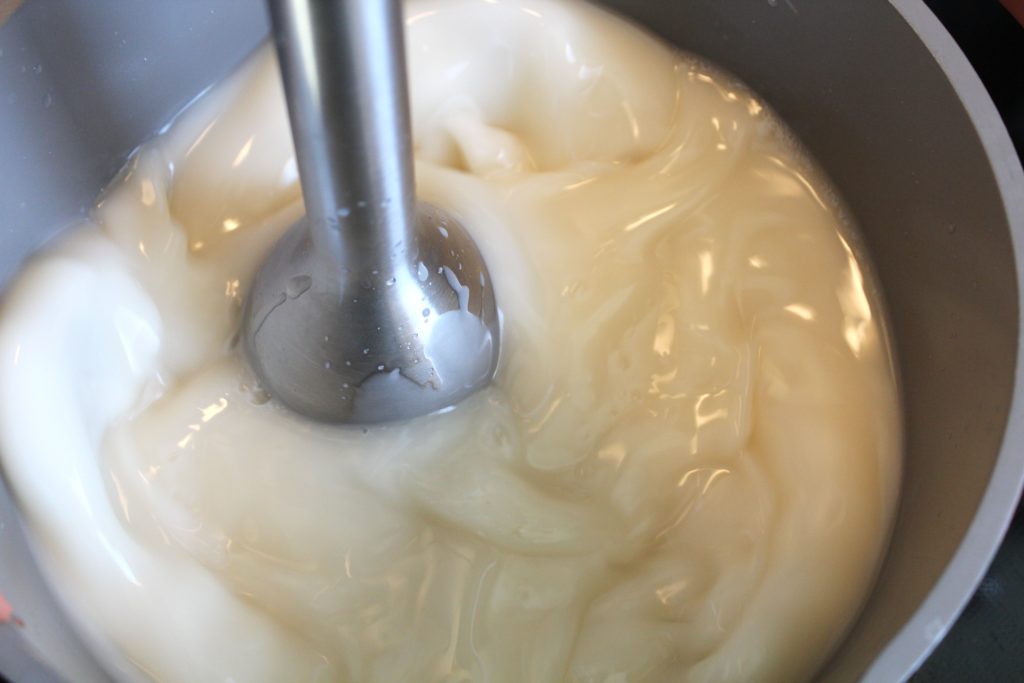
- Place an immersion blender in the center of your mixture and blend on medium-low speed. This helps emulsify your mixture so it can come to trace. The trace you’re looking for will be similar to a pudding consistency and should only take a couple minutes of blending. If you are struggling to reach the correct trace, it just means the temperatures might have been off or the blender needs to be sped up.
- Once the correct trace is reached, mix in your desired essential oils (optional).

- Carefully pour the soap mixture into ceramic ramekins or a soap mold. I prefer to just pour my soap directly into the ramekins. It makes it easier for me to have a dish full of soap that I can swap for the old one whenever I need to.
- Then, move freshly-poured soap to a cool, dark place where they won’t be disturbed. Make sure the curing room is properly ventilated. If you’re in a rush and need new soap now, it will technically be cured enough for use after two days. However, I highly recommend curing your soap for the recommended 28 days so it can cure all the way through. It will get harder as it cures, which will help it last longer
- Once cured, lather up and scrub away!
How to store solid dish soap
Storing solid dish soap could not be easier! Store it in a cool, dry location. If you’re worried about the soap losing its scent, store it in an airtight container. To keep the soap from collecting dust, wrap it with a cheesecloth. If cured and stored properly, the soap made with this recipe can last for up to a year.
How to use solid dish soap
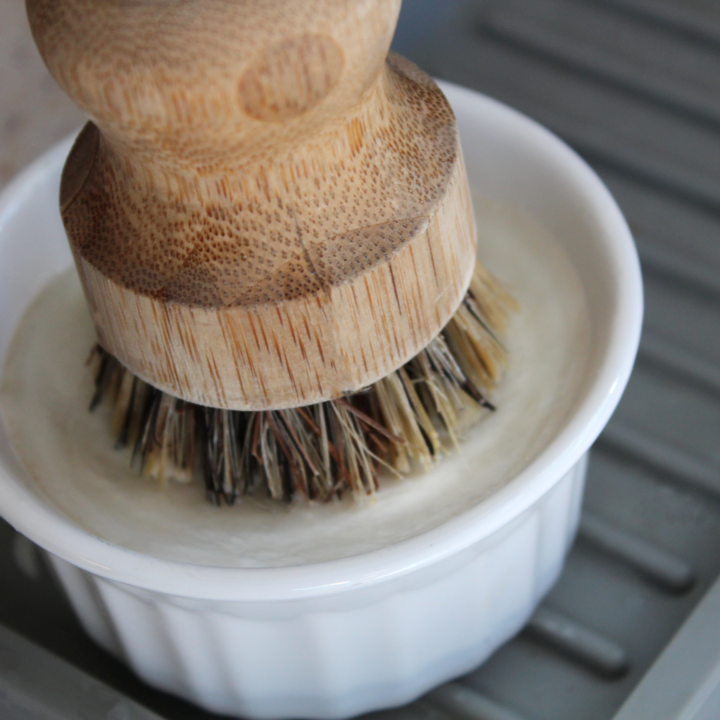
Solid dish soap can have a bit of a learning curve if you have only used liquid dish soap. I like to keep my soap in a small ceramic ramekin. We have found that it is more effective to use a bristled scrub brush with this soap instead of a sponge. You can still use a sponge with solid dish soap, but the hard soap doesn’t spread throughout the sponge as easily as liquid soap does. The tough bristles of a brush tend to have an easier time picking up the top layer of soap, which makes it easier to see the sudsy soap at work. Then, just wash your dishes like normal! The soap should start to get bubbly after scrubbing for a couple of seconds.
Solid Dish Soap Recipe
Learn how to make your very own solid dish soap that will make your dishes sparkle!
Ingredients
- 5.41 oz lye
- 8 oz distilled water
- 14.5 oz coconut oil
- 1 oz castor oil
- 14.5 oz tallow
- 30 drops of lemon essential oils (optional)
- 3 to 4 ceramic ramekins or soap molds
Instructions
- Add the measured lye to the measured water in a heat-proof container.
- Stir in the lye and let it sit to cool to around 100 degrees Fahrenheit.
- As the lye is cooling, melt the oils together on low heat.
- Take the oils off the stove and let cool to around 100 degrees Fahrenheit.
- Once both the lye and the oils reach approximately the same temperature, slowly add the lye into the oil mixture.
- Blend the lye and oil mixture with an immersion blender until it thickens to a trace. The mixture should be a pudding-like consistency.
- Mix in desired essential oils (optional).
- Carefully pour your soap mixture into ramekins or soap molds.
- Put the freshly-poured soap in a dry location with good ventilation where they won't be disturbed. Leave them to cure for around 28 days. The soap will be cured enough for use after two days but will last longer and be more effective if allowed to cure for the entire month.
Notes
Be sure to pour the water into the container before the lye. Mixing the lye into the water rather than the other way around will help you avoid any dangerous splashing.
Add the lye to the water in a container that is heat-safe up to 200 degrees Fahrenheit or more and is resting on a hot pad or other heat-safe surface I have found success using pickling mason jars to mix the lye and water. You need heat-safe equipment because lye and water create an exothermic reaction and can reach near-boiling temperatures within seconds.
Always make your soap in a room with good ventilation to avoid any toxic fumes that might appear during the mixing.

Leave a Reply
You must be logged in to post a comment.